


Image Denoise
Enhancers AI gives you cleaner flat areas, preserved texture, and a strength slider when image denoise needs a lighter or heavier result.
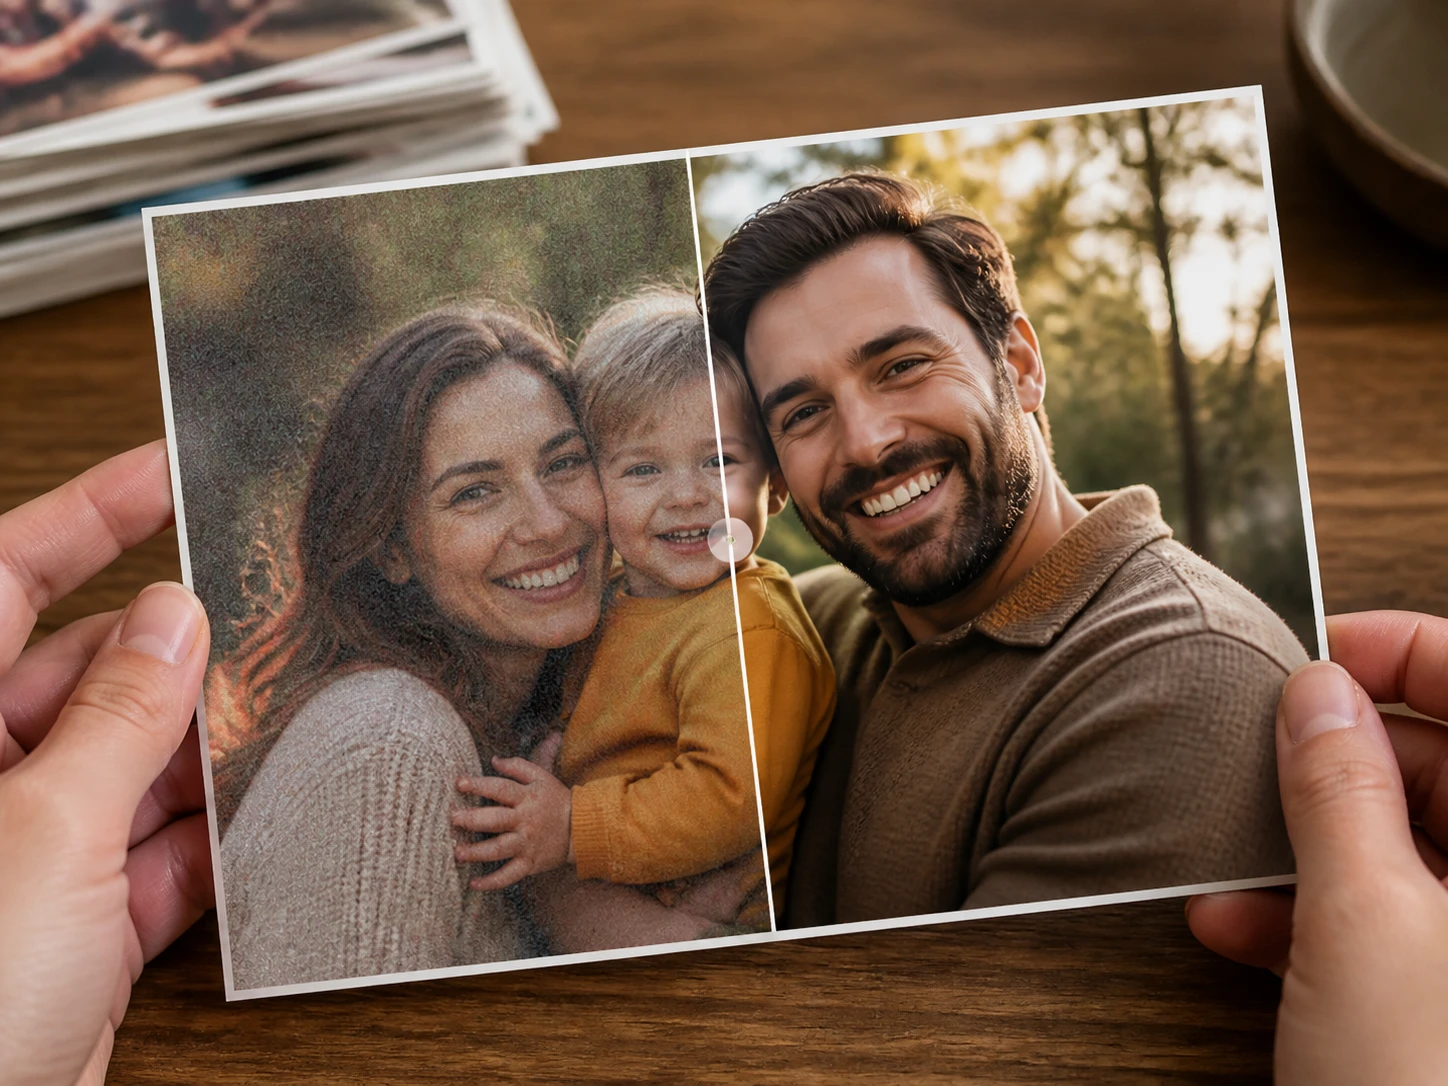
Where image denoise proves itself
Start with the files where image denoise is easiest to miss at preview size and easiest to judge at full size.
High Iso Photos
A dim restaurant family photo often has colored speckles in the shadows after the phone raises sensitivity. Use image denoise for high iso noise reduction, then check the dark wall and each face at 100 percent before you download.
Film Grain Removal
A negative scan meant for print can carry rough grain into the enlargement. Run film grain removal first, inspect skies and walls for smoother gray areas, and pull the strength back if you want a little film character left.
Astrophotography Noise Reduction
Long exposure night sky files can show color speckles across dark gradients. Astrophotography noise reduction in this workflow helps calm those spots while you inspect the sky transition and the bright points that should remain visible.
Compressed Frame Grabs
A still frame from heavily shared footage can show blocky edges around text and color breaks. Choose image denoise when jpeg artifact removal matters, then zoom into the dirtiest boundary before using the frame.
Who checks image denoise closely
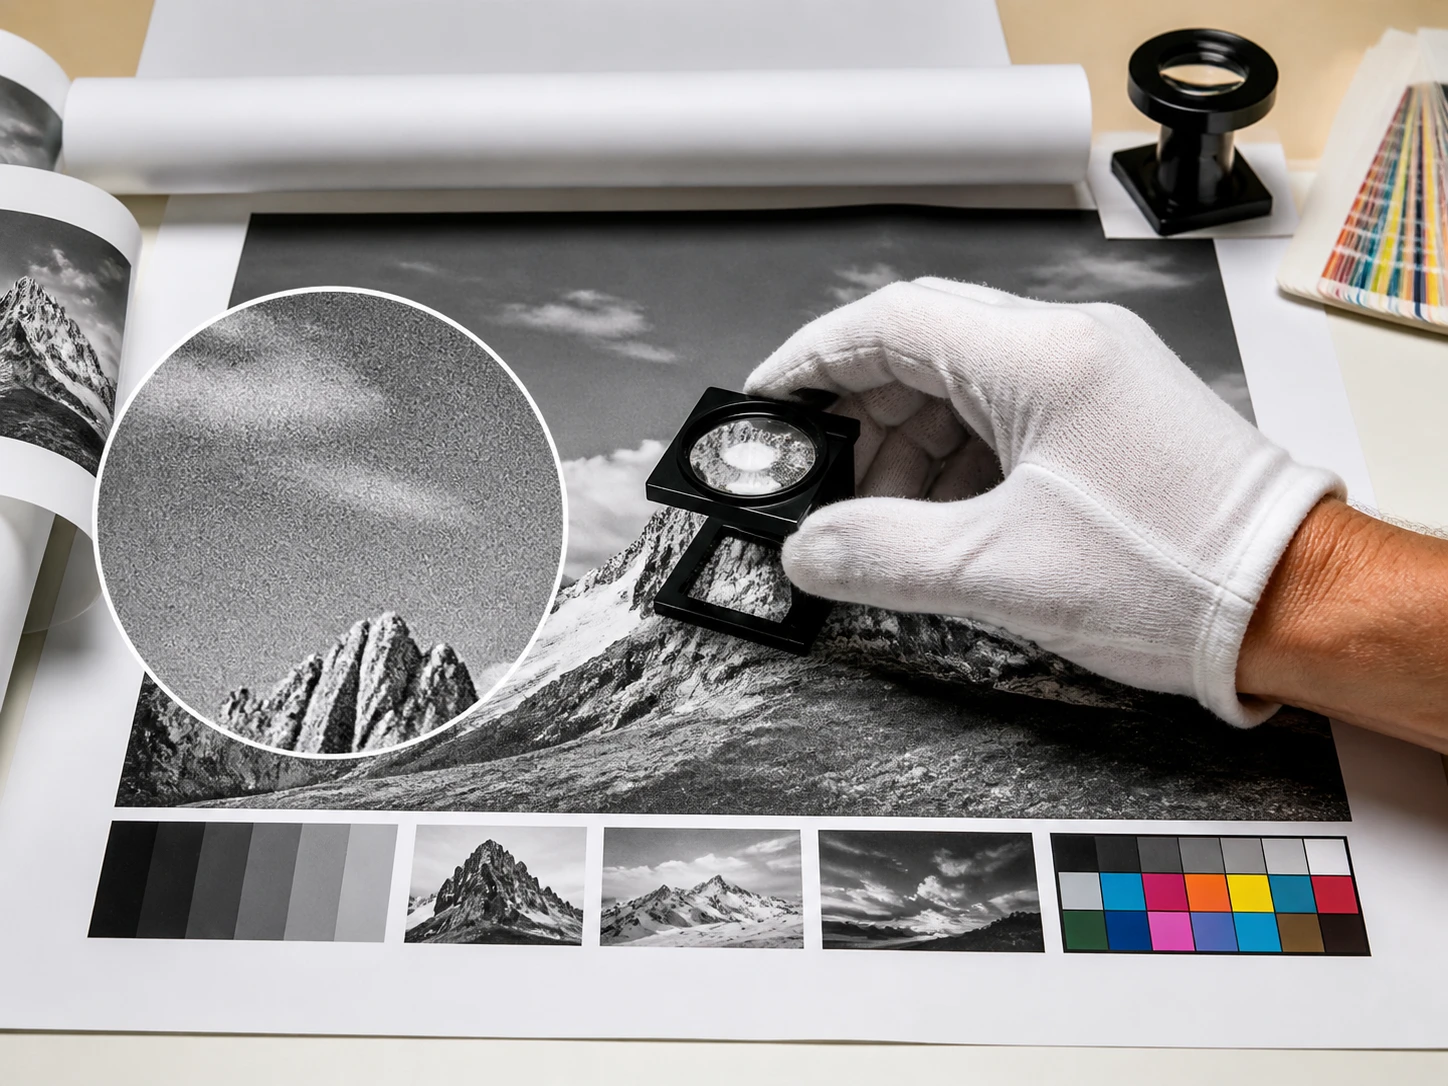
Print proof buyers
Print work makes small grain easier to see once the file is enlarged. Enhancers AI helps buyers inspect gray surfaces at full size before approving a proof.
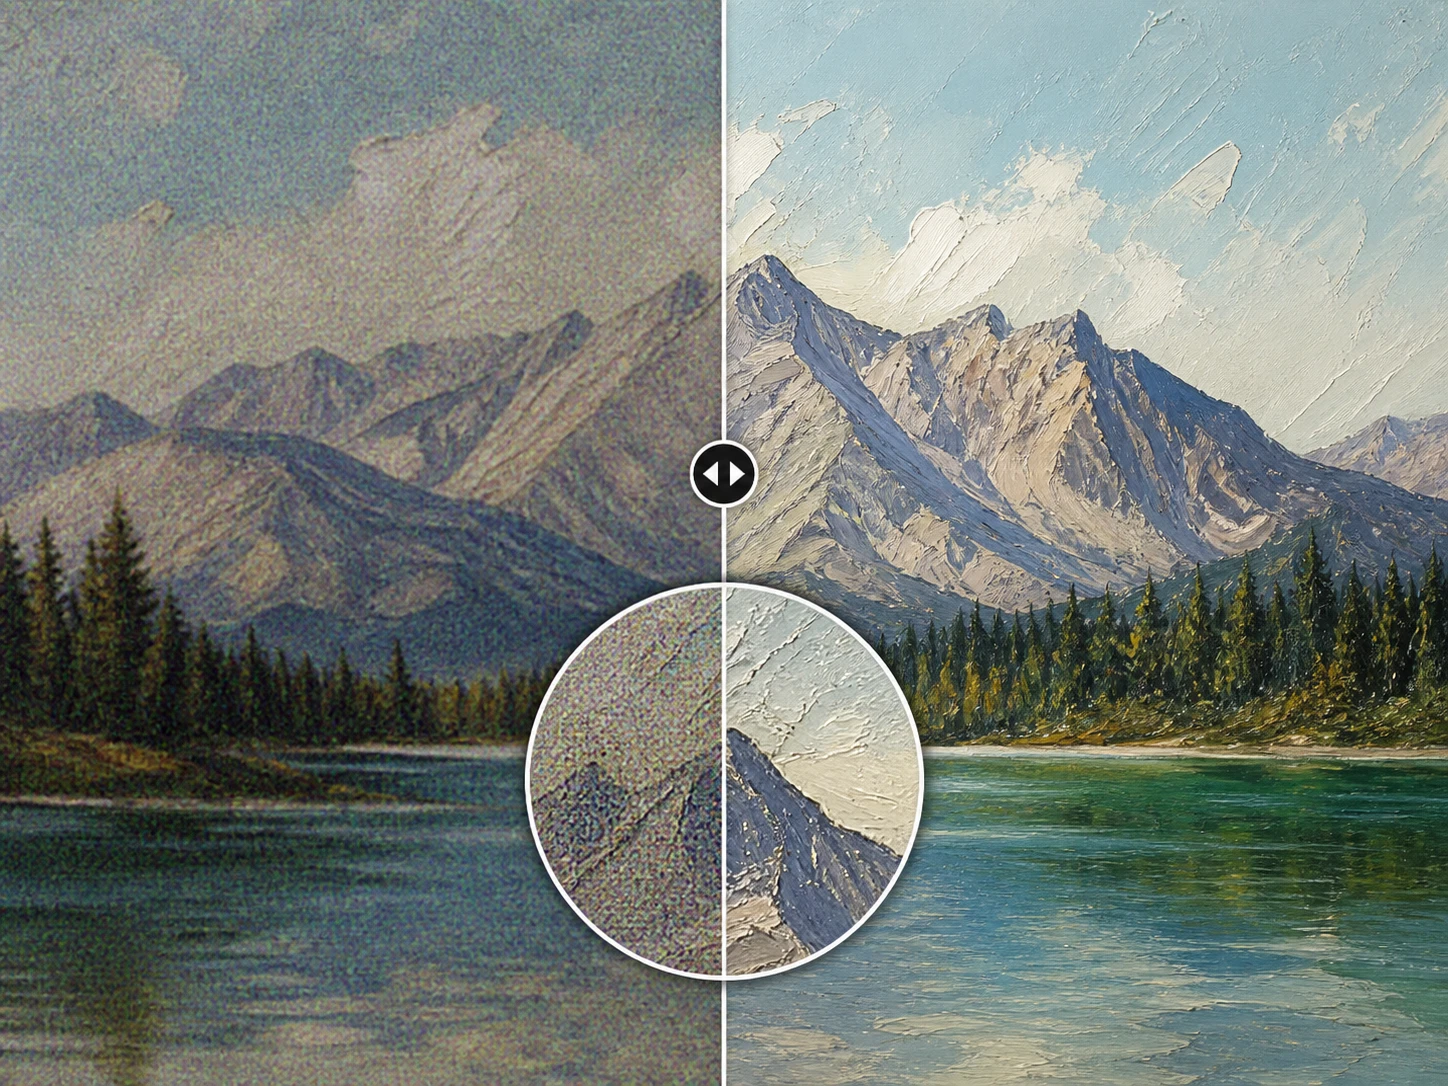
AI art creators
AI generated images and anime frames can pick up noise or compression marks. Image denoise helps clean the grain while you check brushwork, dots, and style texture yourself.
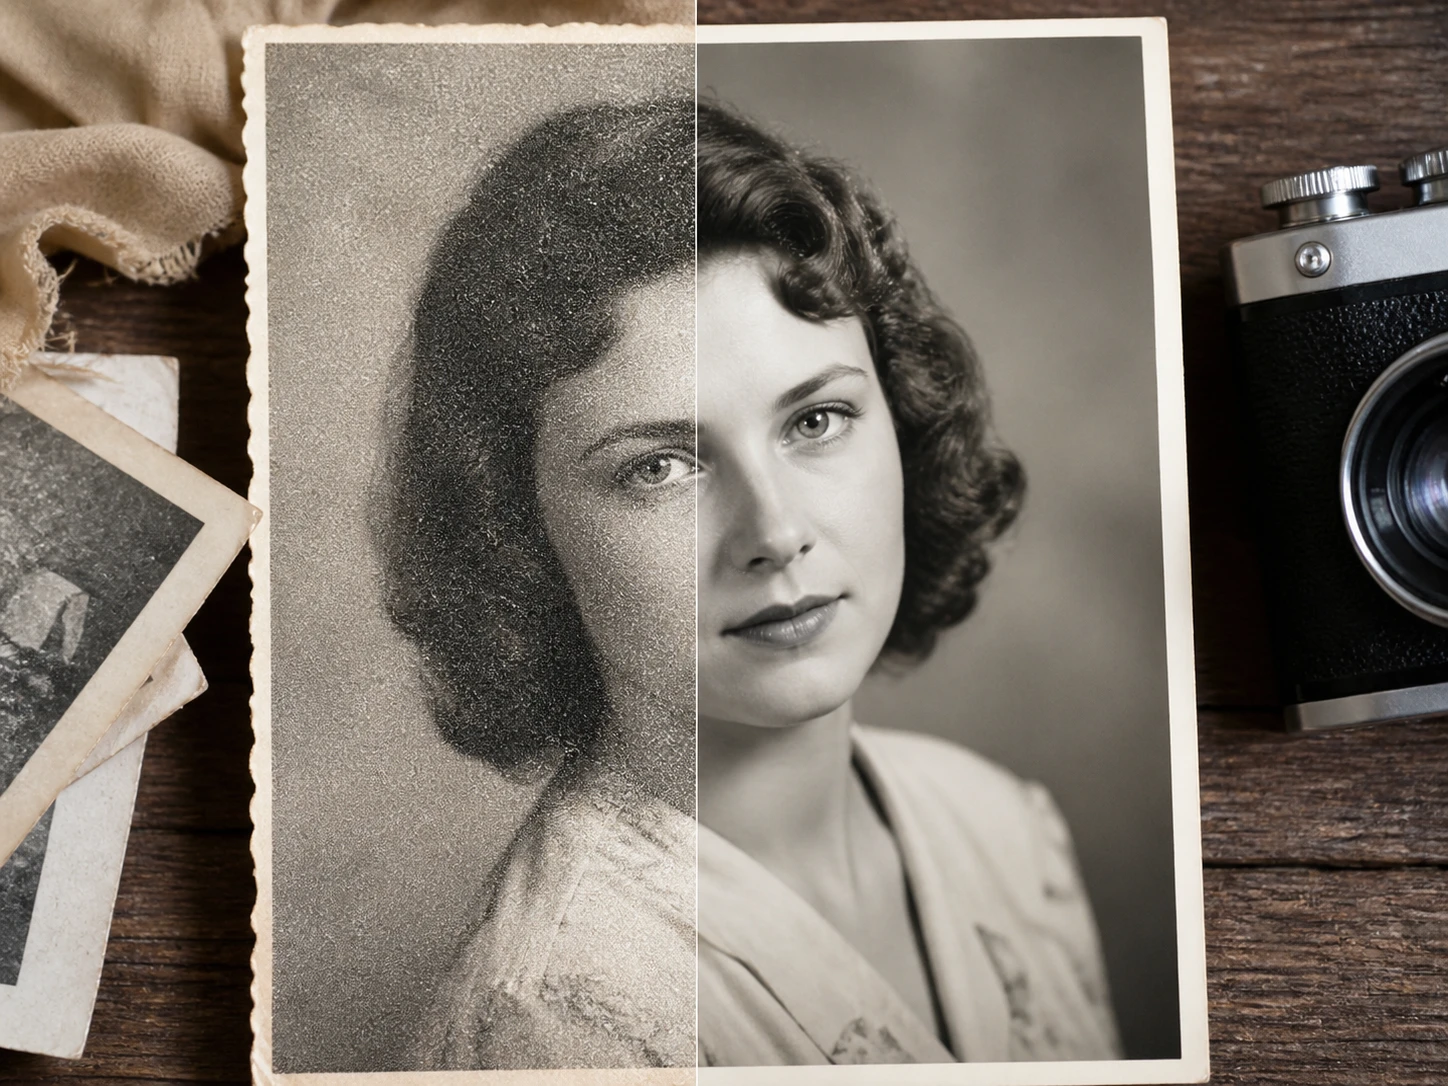
Archive digitizers
A scanned photograph may be the only copy left to judge. Use denoise photo work in Enhancers AI, then compare the recovered detail with the person you remember.
image denoise you can verify
The useful result is visible before export: cleaner flat areas, real texture still present, and controls ready when image denoise is too light or too strong.
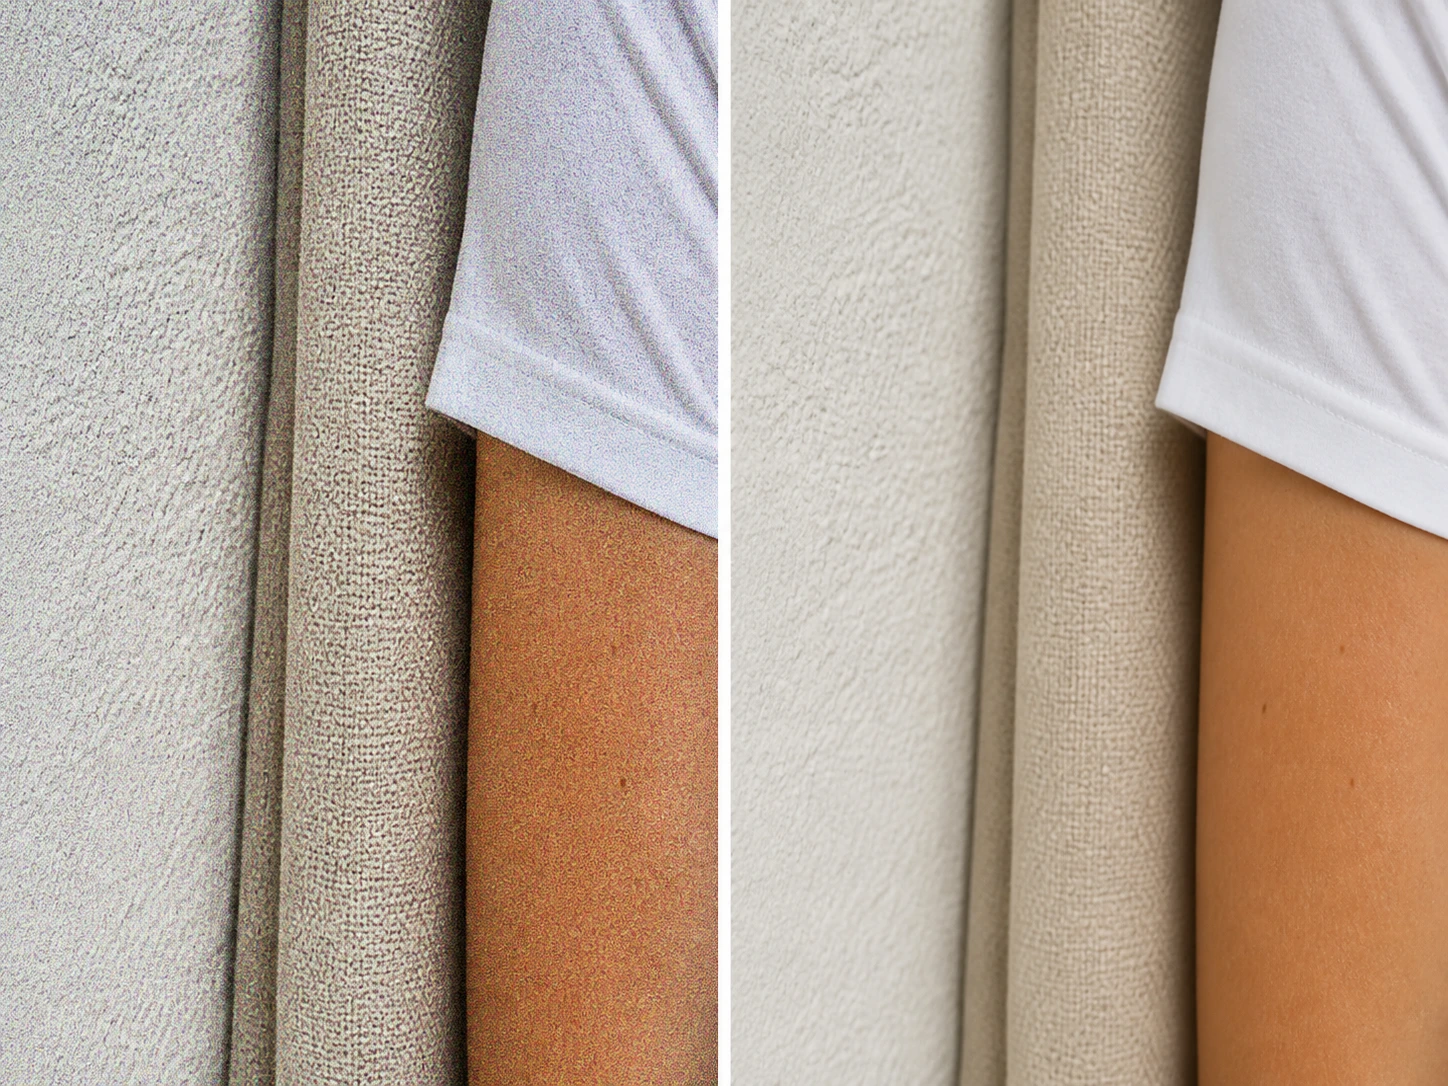
Detail aware cleanup
Flat skies, walls, and shadows should look cleaner after image noise reduction, while skin, fabric, and paper grain should still read as real texture. Enhancers AI acts as an ai image denoiser that lets you inspect those checks at 100 percent.
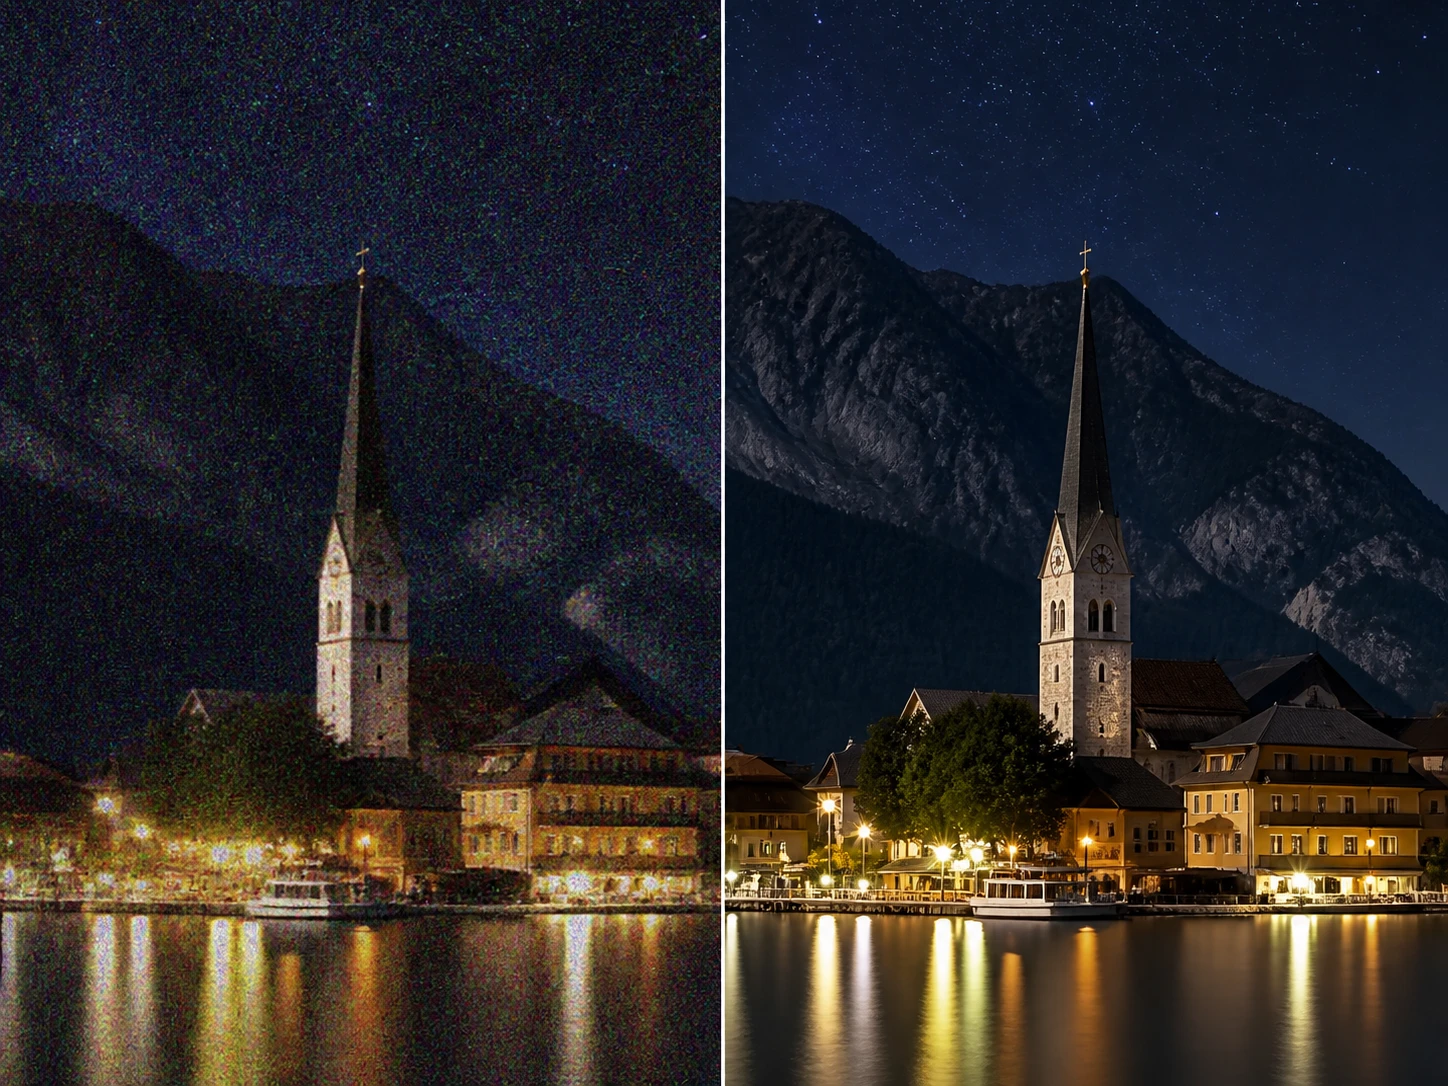
Low light color speckles
Night interiors and high iso photos often show red, green, and blue flecks in dark areas. Use photo noise reduction, then look for cleaner shadows that still keep separate tones.
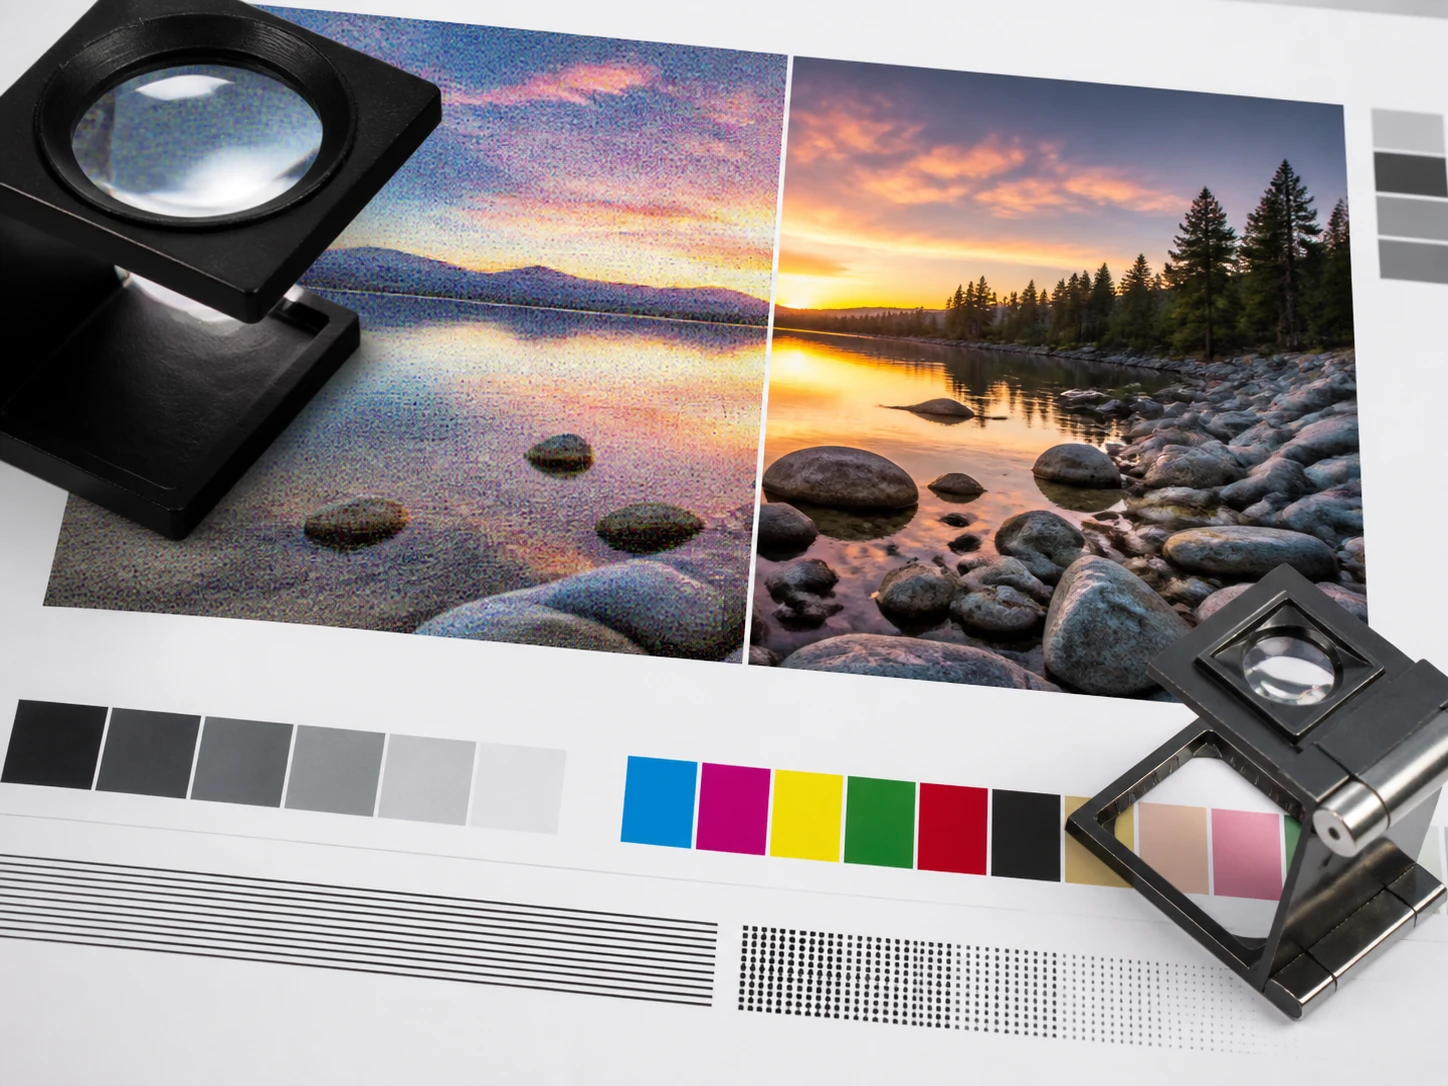
Compression edge cleanup
Repeated saving can leave dirty edges around lettering and color blocks. The noise reducer targets artifacts as part of image denoise, and the best check is the border where two colors meet.
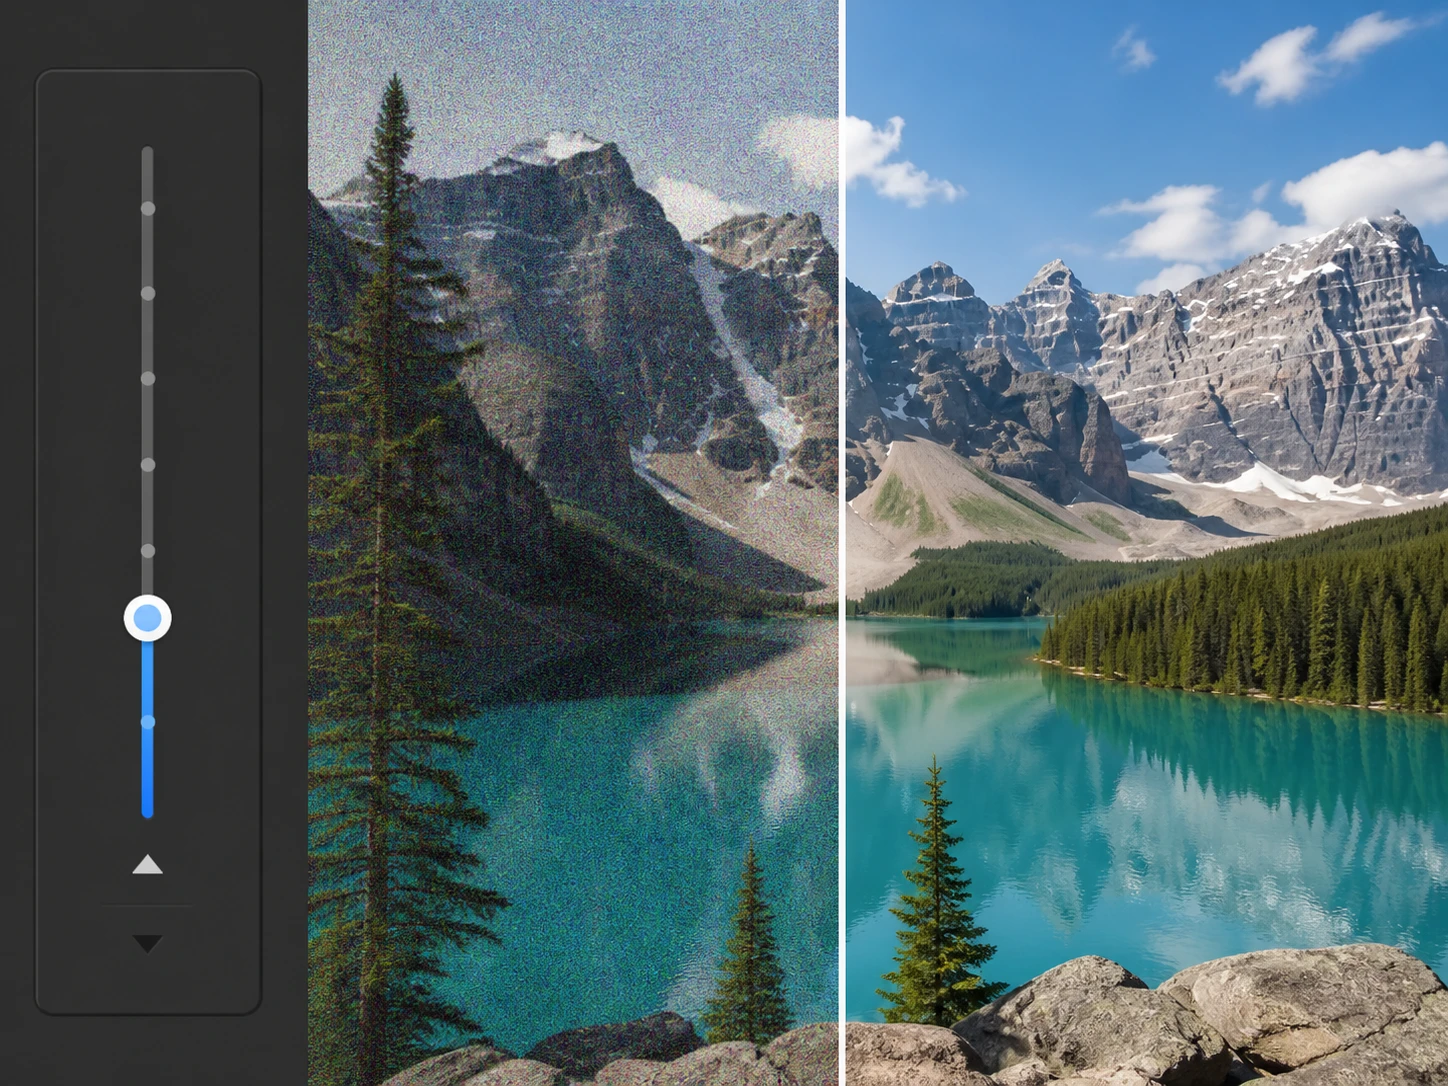
Adjust after inspection
Enhancers AI sets a default strength for ai noise reduction by file and scene. After you inspect the result, move the denoise strength slider and run a second result when the grain removal feels too mild or too heavy.
Make image denoise a check
The workflow is upload, inspect, judge, then refine when the file needs another setting.
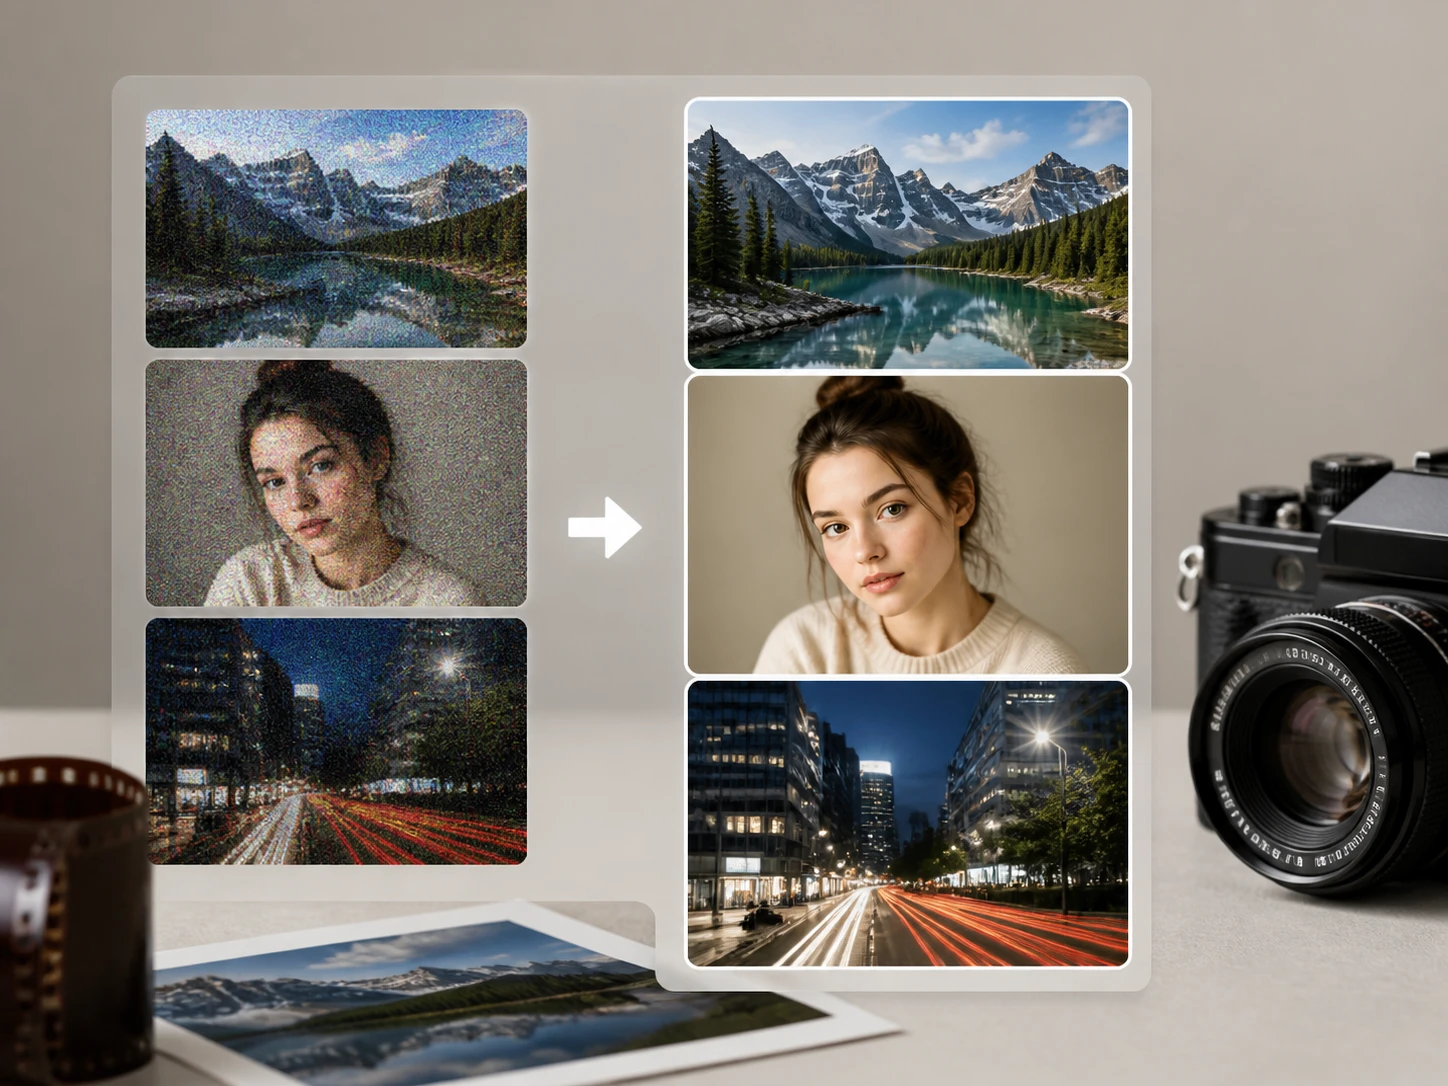
Upload noisy JPG, PNG, or WEBP files
Drop in a grainy photo or several files at once. Enhancers AI keeps the result available in your workspace so you can return to the processed file and download it later.
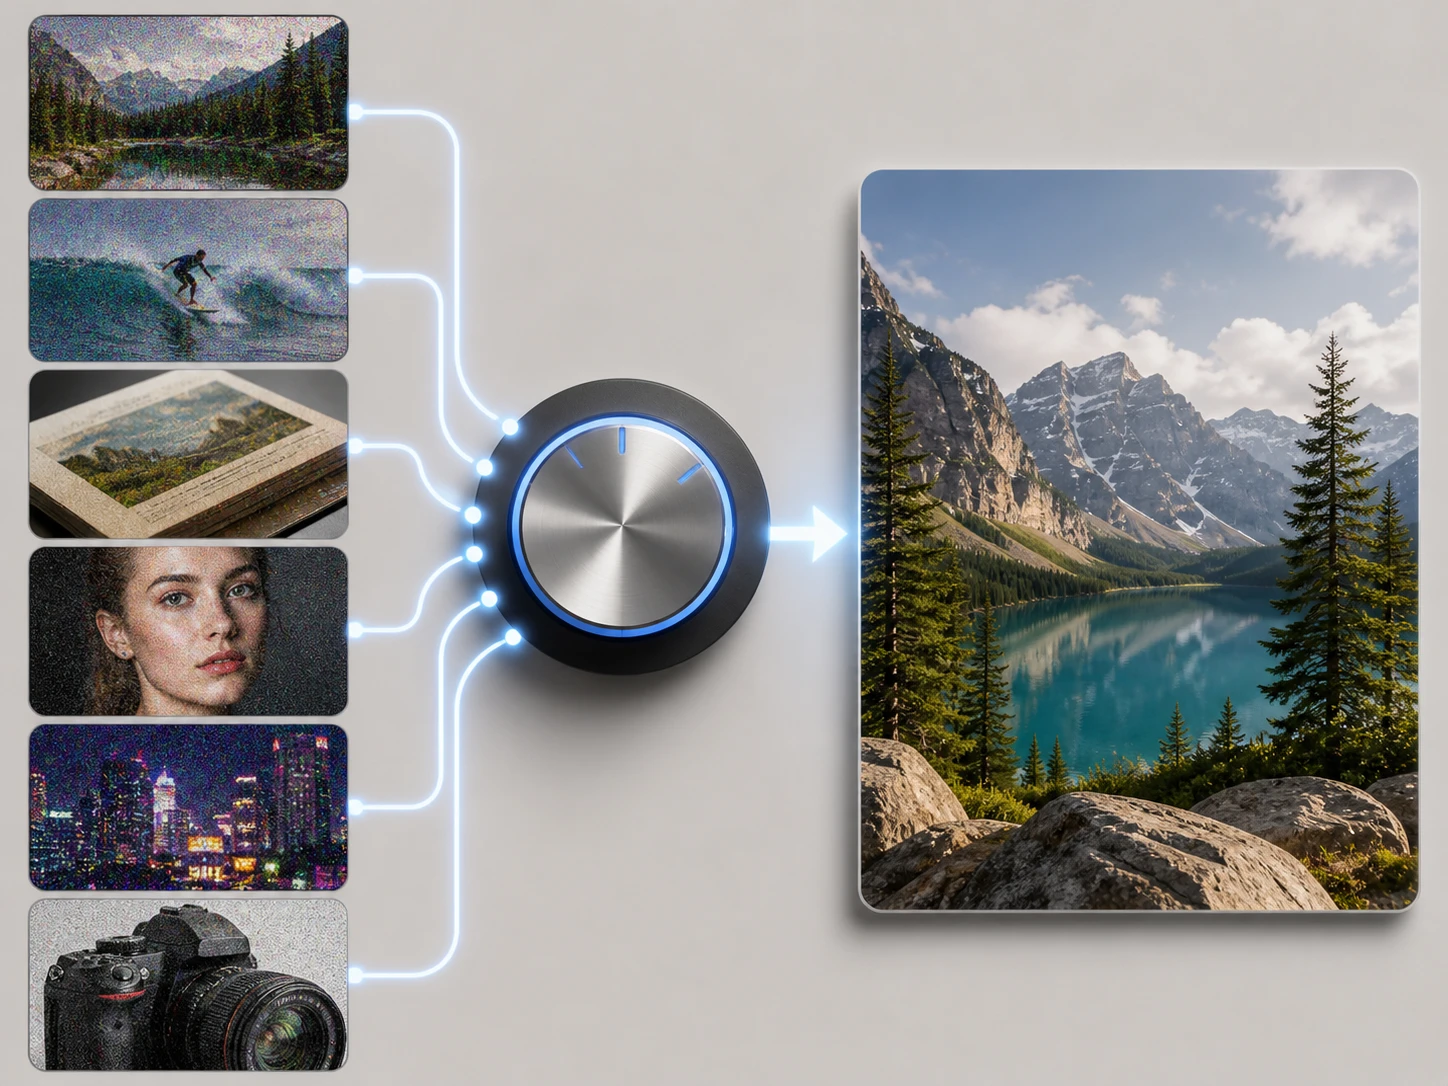
Let the scene guide the model
The system matches each file to a model for the file type and scene, then sets the denoise strength. You can choose a scene yourself when you want the parameters filled from that choice.
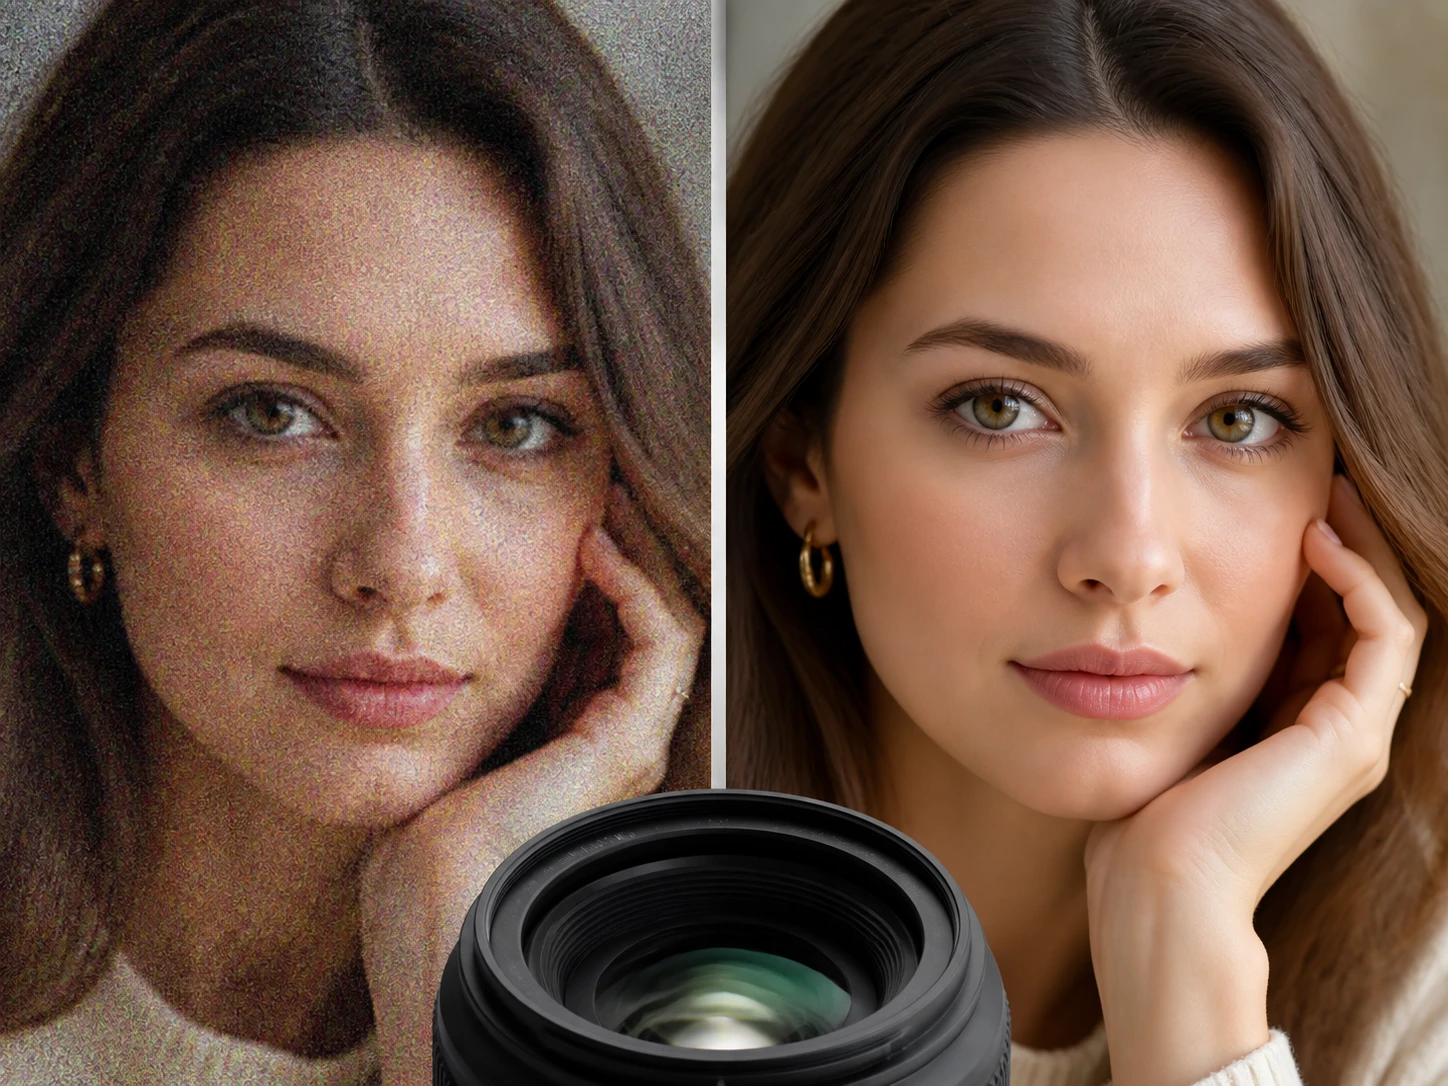
Inspect, adjust, and export
View the result against the original, then check flat areas, real texture, and colored shadows at full size. If needed, move the strength slider or change the scene, then export without a watermark or continue up to 8K.
image denoise answers
Refine a noisy image now
Run a test file in Enhancers AI, inspect the cleaned areas at 100 percent, and download when image denoise still feels too light.